
Have you ever wanted to display a list of all the SharePoint sites associated with your Office 365/Microsoft Teams groups?
I've struggled with dynamically creating this list, but recently came across a post which gave me an idea.
Using SharePoint's new Modern Pages, we can now dynamically generate listings in a slightly more user-friendly format. It may not be perfect, but it's a great start.
The instructions below assume you have a basic understanding of SharePoint including pages, and web parts.
How to Build a List of Sharepoint Sites
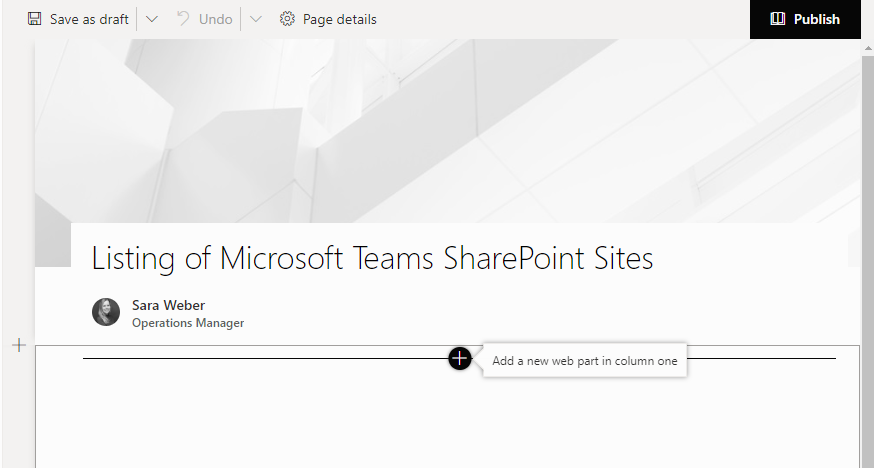
- You will be adding this list of SharePoint sites to a page, so start by navigating to the page you want your list to reside.
- Edit the Page – then click the + to add the new web part to your selected location.
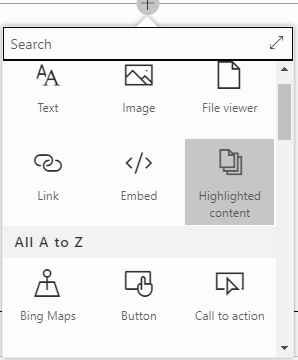
- Select the “Highlighted Content” web part. This will add content that automatically displays the most recent documents.
- Click on the edit icon to edit the web part.
- Choose the following settings, in order from top to bottom:
- Select the “Custom Query” radio button
- Source drop down – “All sites”
- Query text (KQL): “contentclass:sts_site WebTemplate:GROUP” – Be sure click the “Apply” button.
- Sort by: Most recent (Your choice here – I also considered sorting my “Managed property ascending”, but didn’t find the title property available, the closet I found in my brief search was the “SPSiteURL”)
- “Enable audience targeting”: On (this will hide any sites that the user doesn’t have access to)
- “Layout”: List (You can choose any layout you’d like)
- “Show up to this many items at a time” – ??? This is simply the number of items you want to display. We currently have less than 50 sites, so I chose 50 to display all items. Note – it will not scroll through batches; this will be all of the results you get back.
- After your changes are made, click on “X” in the corner to close the properties for the web part.
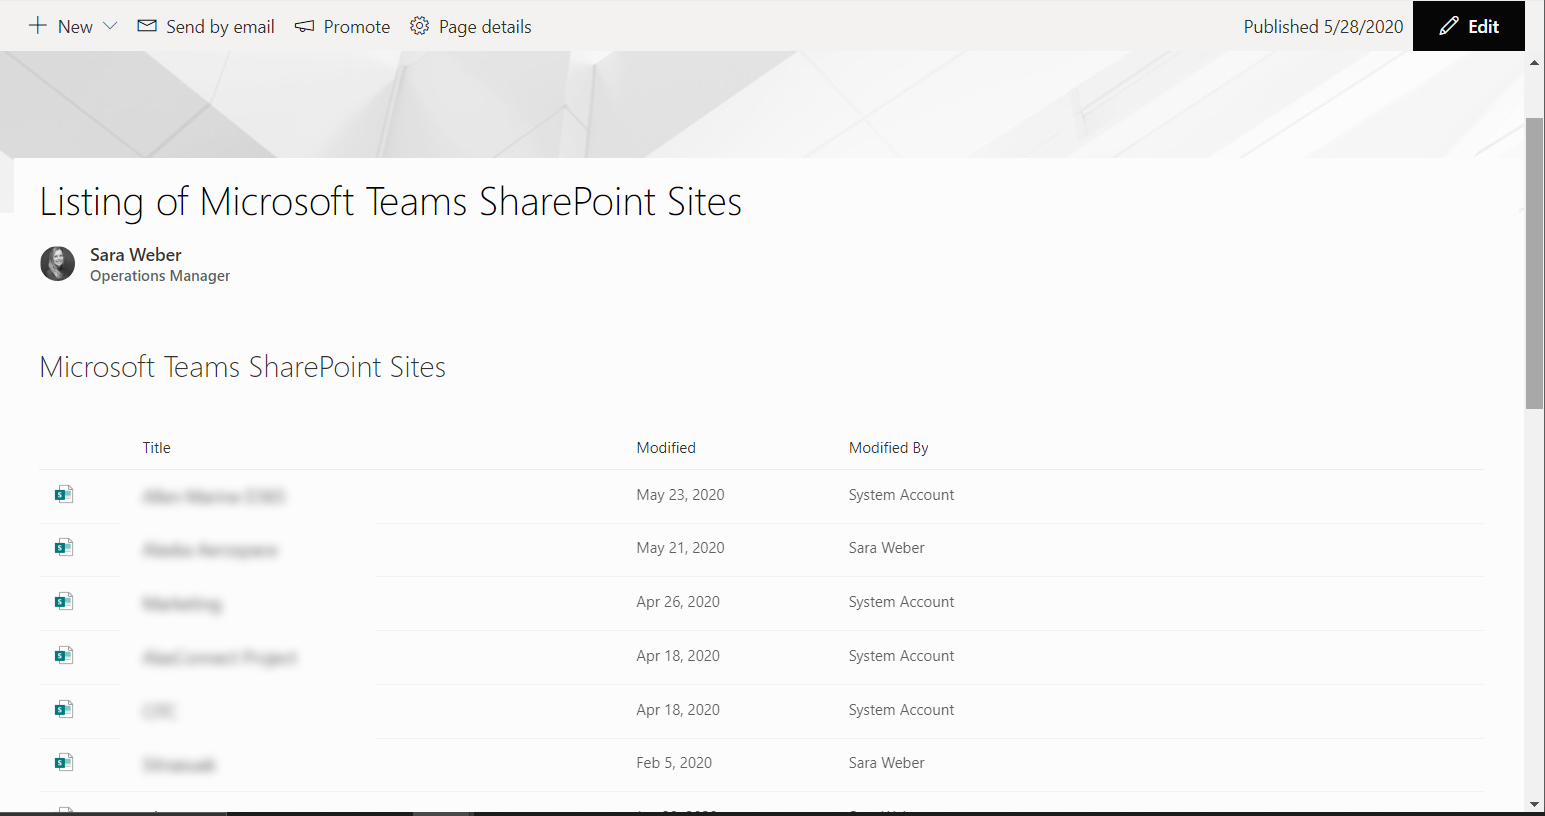
- Finally, update the title for the web part. Simply click on the title (it defaults it to “Most Recent Documents”) to update it. I will be using “Microsoft Teams SharePoint Sites” as my title. Below is an example of the finished result.
- Save your draft; then click the “Publish” button when you are finished making adjustments to your page.
Link Teams and Office 365 to Sharepoint
In less than 10 simple steps, we can quickly display a listing of Microsoft Teams/ Office 365 Groups with links to the relative SharePoint site. While you don’t have full control over the layout and fields that are displayed out of the box, you can quickly apply some css to customize this appearance.
Before exploring this solution, I hadn’t given the “Highlighted Content” web part the credit it deserves. If you have experience with the previous “Search results” web part, you can easily grab the query text and plug it into the settings here. One serious advantage over the original “Search Results” web part is that when displaying documents, the link will take you to the document itself, instead of trying to download it.
I hope you’ve found this article helpful! Happy SharePointing!